Page 12 of 20
Posted: Wed Feb 06, 2008 5:04 pm
by Luke
Luke wrote:matt wrote:I bet a bit of weather stripping arouind the edge of the Al panels will quiet vibrations pretty well. Not like you'll hear THAT noise over the other symphony eminating from the engine bay, fender wells and underbody.
I dont think they will make any noise at all. The dzus clips have springs on the back that help to keep constant tension, so they wont be loose and rattly. The main reason we wanted to do a custom dash this time was because the stock dash no matter how tight you screw it down seems to rattle apart into 6 pieces after a long day of stages. Several times we've finished a stage with John holding the dash together so no wires get shorted, etc. It is also cumbersome to remove to access wiring.
Posted: Wed Feb 06, 2008 6:30 pm
by matt
by insuring we have quick access to the wiring, we guarantee that the wiring will never be a problem. Plus it looks super sweet!
Posted: Fri Feb 08, 2008 1:59 pm
by saab90089
matt wrote:by insuring we have quick access to the wiring, we guarantee that the wiring will never be a problem. Plus it looks super sweet!
Quite true!
As usual very nice work guys!
Ian
Posted: Thu Mar 13, 2008 9:31 pm
by Luke
A few more updates:
All switches mounted on dash panels:

Wiper motor rebuilt. Same lucas part as MGB and Jaguar:

Lid for fuel cell fabricated:

Step van heater valve installed in fire wall:

All the electrical components ready for wire-a-thon this weekend.

Posted: Thu Mar 13, 2008 11:20 pm
by matt
Have fun working on the wiring this weekend, at least I think it's supposed to be above freezing.
The car is really coming together and looks pretty damn good.
Luke you want that labeler again for all them switches?
Posted: Mon Mar 17, 2008 1:04 pm
by Luke
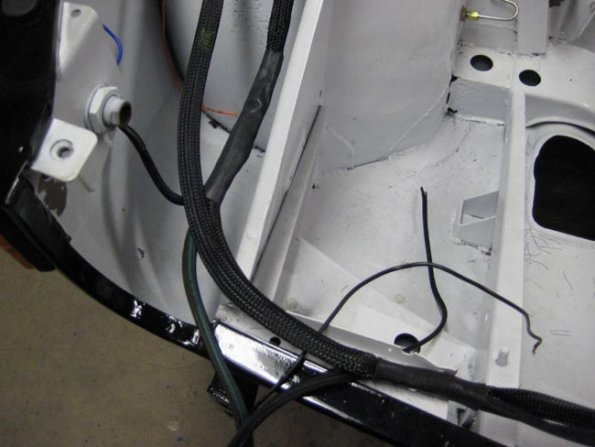
Update!!!
Jordan and Josh came out this weekend and we attacked the wiring harness. We accomplished:
1. Mounted fuse block and relay blocks
2. Ignition and starting circuits wired
3. Figured out wiper system wiring and created harness
4. Ran all leads to the rear including fuel pump (Josh ensured that our dome light would come on anytime we applied the brakes... he claims he did it by accident but i'm not so sure)
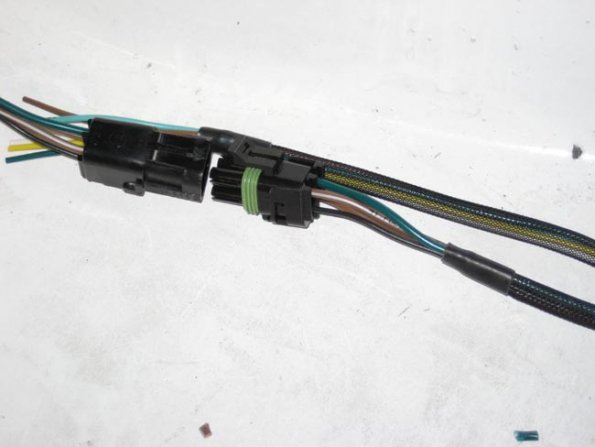
5. All wires to the front end layed, terminated and sheathed
6. Master cylinder reservior hose mounted
7. All gauges and dash lights wired
Was a ton of tedious work, and the car dosent look much different than when we started but it was a big step foward! Only about 10% of the wiring remains to be completed.
Posted: Mon Mar 17, 2008 6:26 pm
by matt
Well done, glad to here that tedious stuff is pretty much done, that should leave bigger more satisfying stuff for the day I plan to be there before Rally NY. Are we rebuilding the connections in the lights? I know they're iffy on the current car and I would like to be sure that the brake lights and such actually work.
Posted: Mon Mar 17, 2008 6:39 pm
by Luke
Josh figuring out the tail-light wiring

Rats nest:

Wires going to front laid in place:

Dash wiring harness:

Relay panel coming together. Relay board is rear half of a C900 fuse panel cut off.

SAAB 9000 speedo sender will plug right in place and drive the universal VDO speedo

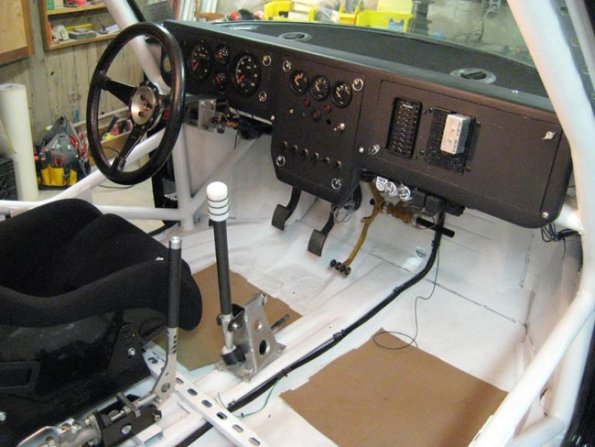
Entire dash panel removed (6 screws) showing wiring and ducting behind:

Cutting dash panel:

soldering headlight terminals:

Fuses and relays on dash of course:

All cleaned up!!

Posted: Mon Mar 17, 2008 8:03 pm
by matt
I thought you were gonna use the corsa wheel I got at the JY
*cries*
Posted: Tue Mar 18, 2008 9:13 am
by GRMPer
I just got some drool on my keyboard.
Posted: Tue Mar 18, 2008 9:19 am
by airsweden
Zoiks......... Looks like "Luke Sport & Rally" is outdoing "Saab Sport & Rally"
(to use a phrase coined by the great Don Juan De Mongoswede)

Posted: Tue Mar 18, 2008 9:44 am
by Jordan
airsweden wrote:
"So...you want to head over to my place and I can show you the 'other' metal that is soft at room temperature?"
Posted: Tue Mar 25, 2008 4:01 pm
by Luke
Posted: Tue Mar 25, 2008 9:05 pm
by matt
Luke, did you include a location for the heater control valve and fan speed switch for the heater?
I like the all black look, it's functional and fashionable. Everybodies wearing black nowadays.
Posted: Mon Mar 31, 2008 9:06 am
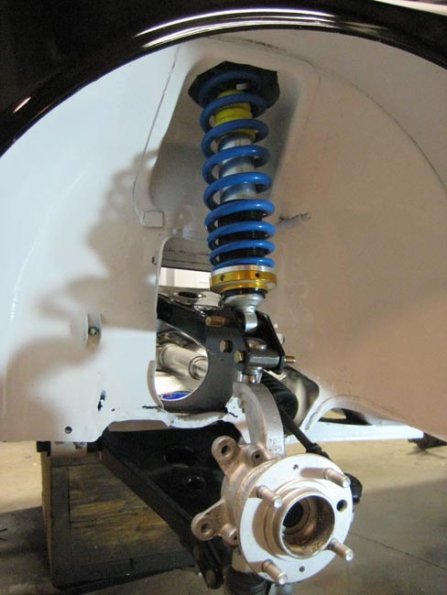
by Luke
Got a few things done over the weekend:
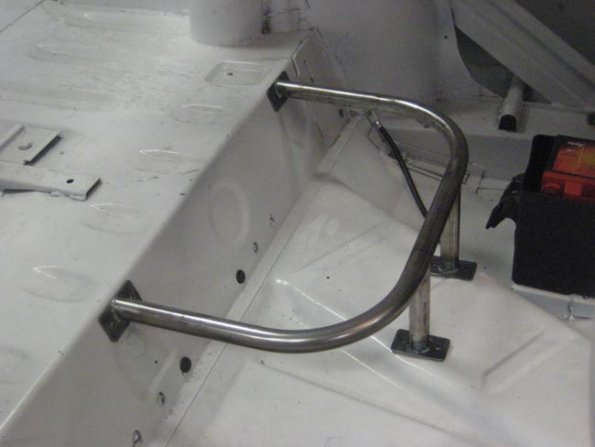
The rear suspension is test fit and everything seems to be ok clearance wise.


Coolant reservoir was installed: