Page 2 of 6
Re: 16 Valve B202 engine rebuild 2011
Posted: Sun Aug 07, 2011 9:48 pm
by turbo stephan
Very cool Dennis. We talked about this a while ago when I was over at your place. The graphics certainly help to fully understand the procedure. Smart move on the isopropyl and it's lower surface tension. I remember measuring hundreds of contact angles with a goniometer to determine the wettability of different coatings on different substrates.
Stephan
Re: 16 Valve B202 engine rebuild 2011
Posted: Sun Aug 21, 2011 12:34 am
by squaab99t
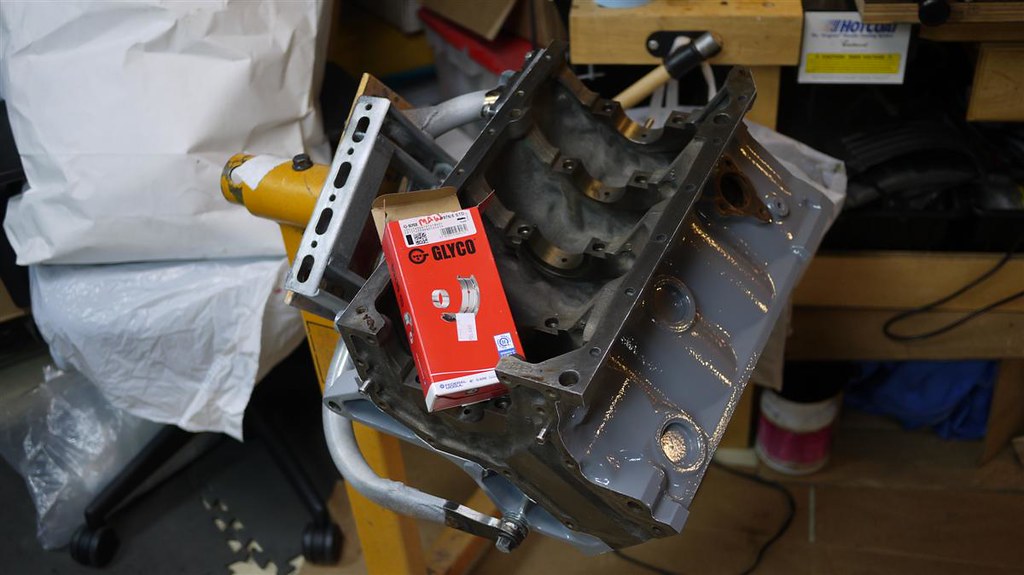
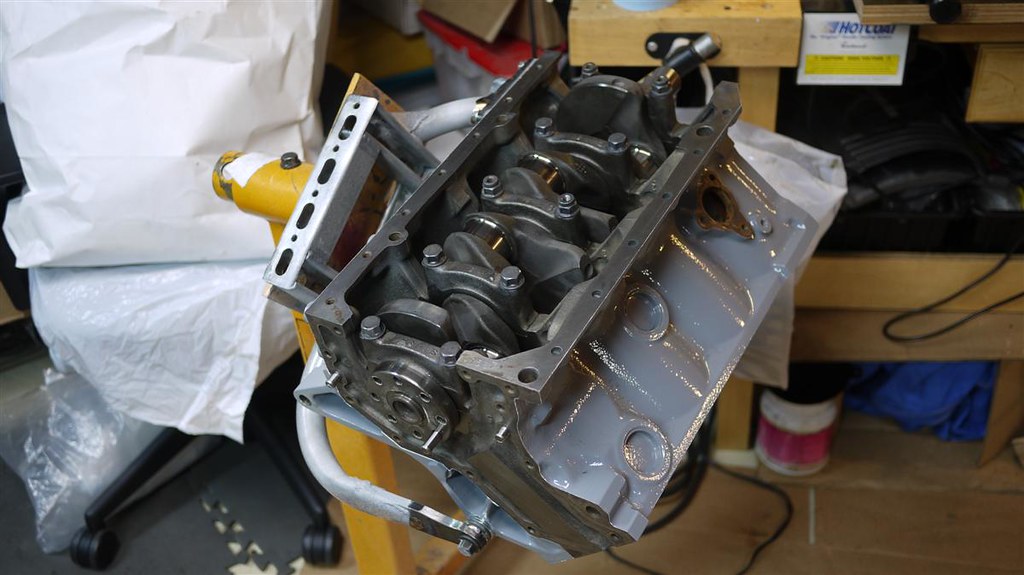
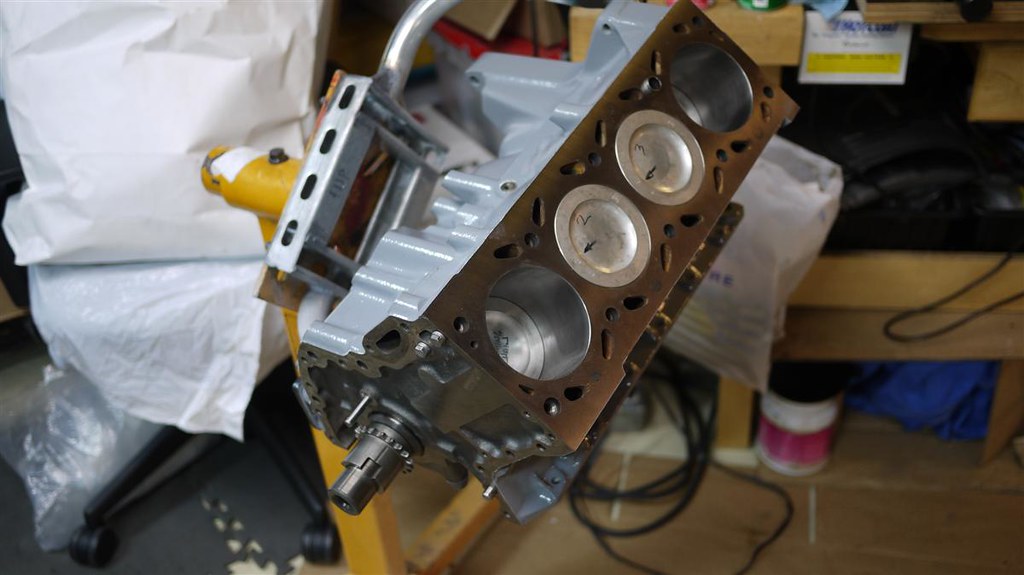
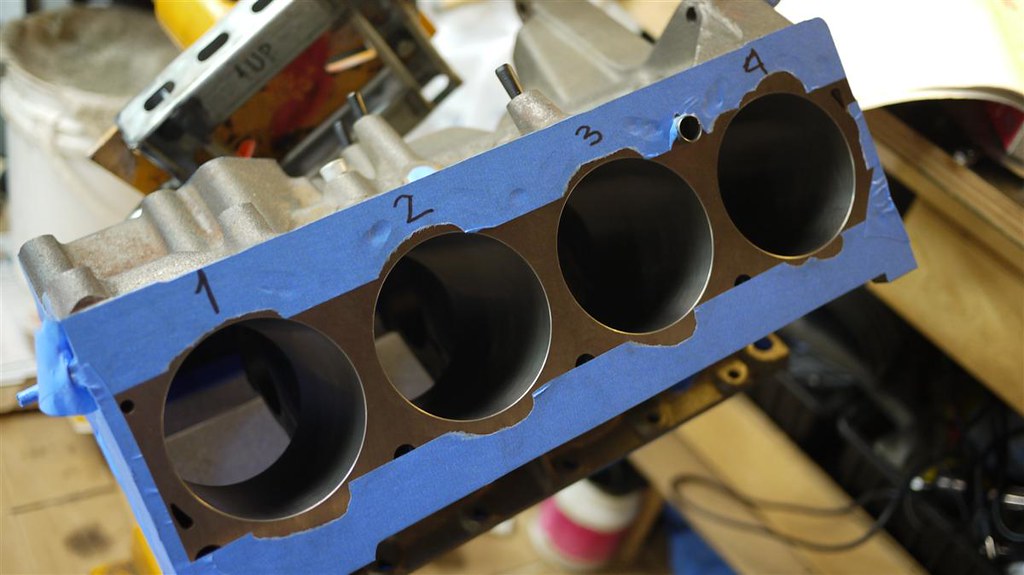
Status 08-20-11
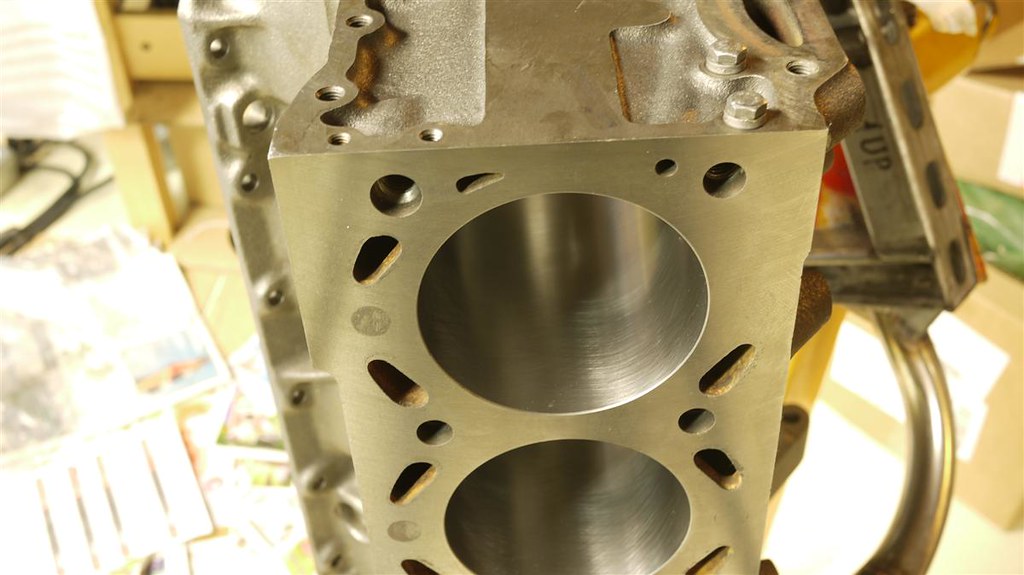
Stripped down the block and took it, crank, and new pistons to the machine shop. Hot tanked the block, decked, bore .50mm over and honed. Polished the crank. The conn rods and crank where previously balanced. The new Mahle pistons wrist pins and ring all matched within a gram scale error.
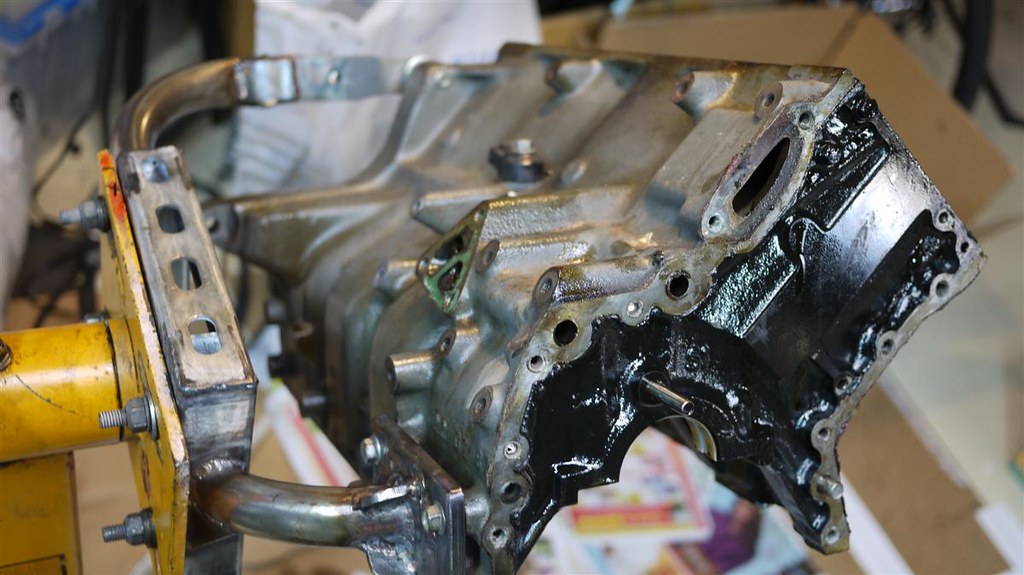

Typical oil muck, the deck had copper spray. That is not rust.
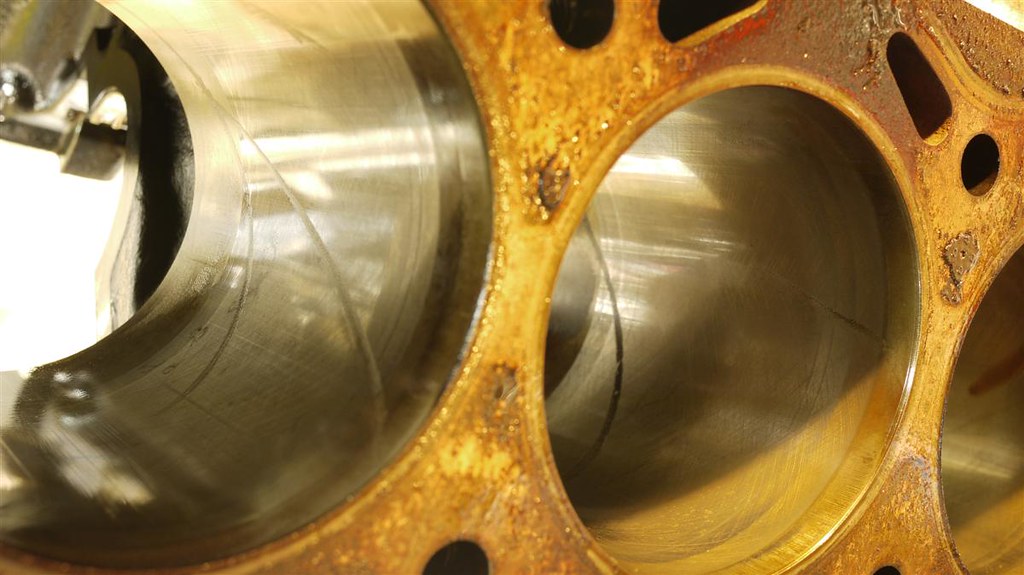
You can see the watermark from the first attempt at an overhaul. Used a water based degreaser and it was not fully submerged, thus the corrosion line.

Freshly machined and had its final hot tank. A bit of oxidation. Stainless wire brush post this picture.
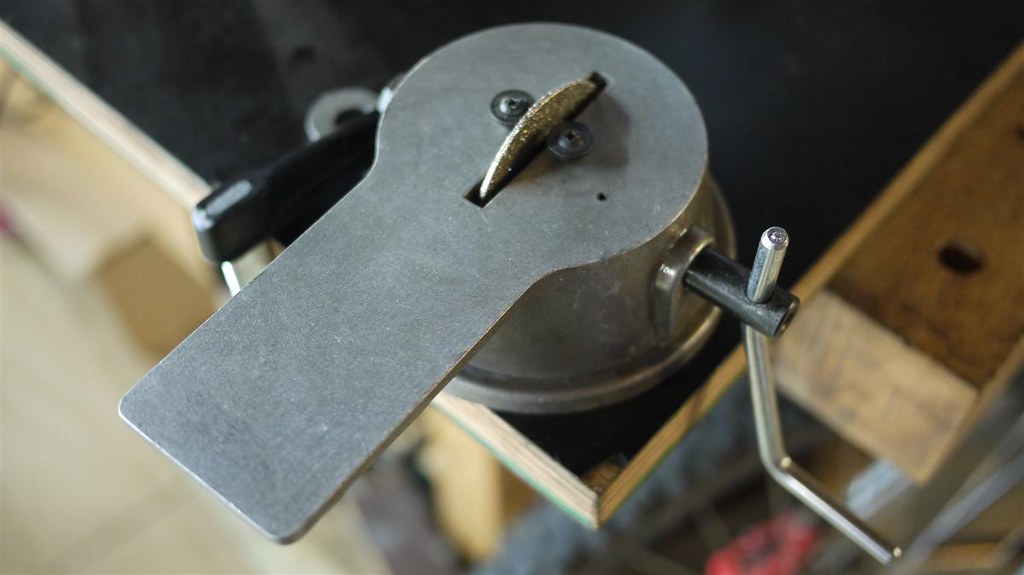
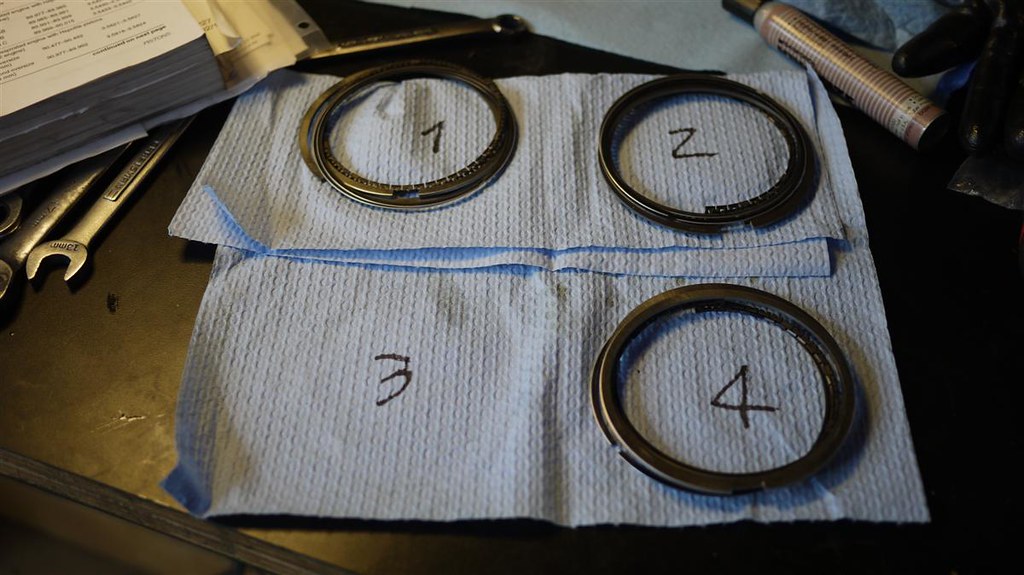
Did the ring gap work. Numbered to match the corresponding cylinders. A bit AR but, going to all the trouble to file, why not?
Tomorrow's task is to paint the block. Cleaned the gun today. Got on some epoxy primer, and red urethane topcoat lined up.
Re: 16 Valve B202 engine rebuild 2011
Posted: Mon Aug 22, 2011 8:15 pm
by turbo stephan
Good stuff Dennis. The bores look pretty good again. From looking at the pictures before and after I would have thought the marks in the walls would have been slightly deeper than 0.5mm. Seems they weren't so that's good. Did you use the machine shop you went to before?
Re: 16 Valve B202 engine rebuild 2011
Posted: Mon Aug 22, 2011 10:12 pm
by squaab99t
turbo stephan wrote:Good stuff Dennis. The bores look pretty good again. From looking at the pictures before and after I would have thought the marks in the walls would have been slightly deeper than 0.5mm. Seems they weren't so that's good. Did you use the machine shop you went to before?
Yes, it turned out well. The 1 overbore and hone was enough to get out the marks.
The first go around I used Autosport in Seattle, but I did not have any block work done. They balanced the rotating bits, conn rods and pistons.
Used Action Machine this time. I've used them to do some flywheel lightening and balance work. They do nice work and bonus are about 10 minutes from the house.
Re: 16 Valve B202 engine rebuild 2011
Posted: Mon Aug 22, 2011 10:45 pm
by squaab99t
Re: 16 Valve B202 engine rebuild 2011
Posted: Mon Aug 22, 2011 10:51 pm
by turbo stephan
squaab99t wrote:Yes, it turned out well. The 1 overbore and hone was enough to get out the marks.
The first go around I used Autosport in Seattle, but I did not have any block work done. They balanced the rotating bits, conn rods and pistons.
Used Action Machine this time. I've used them to do some flywheel lightening and balance work. They do nice work and bonus are about 10 minutes from the house.
That's great. I might get back to you about them in the future when I finally get my 900 hatchback or 99 to work on. The SPG they had listed here was not good at all so I thought I don't rush it.
Thumbs up for going local

. Keeps the community happy and helps our economy.
Re: 16 Valve B202 engine rebuild 2011
Posted: Wed Aug 31, 2011 12:30 am
by squaab99t
Re: 16 Valve B202 engine rebuild 2011
Posted: Sat Sep 03, 2011 7:23 pm
by squaab99t
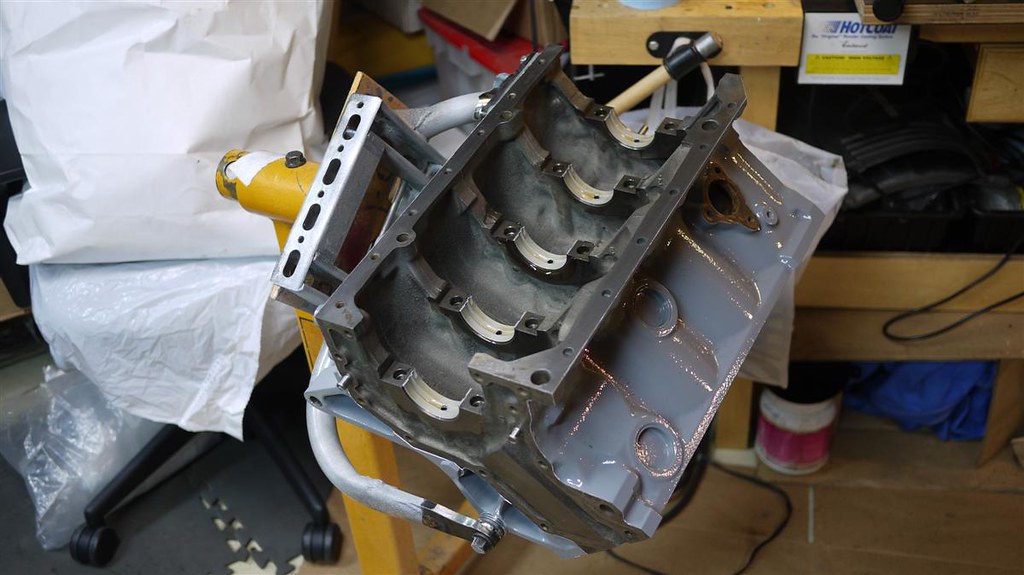
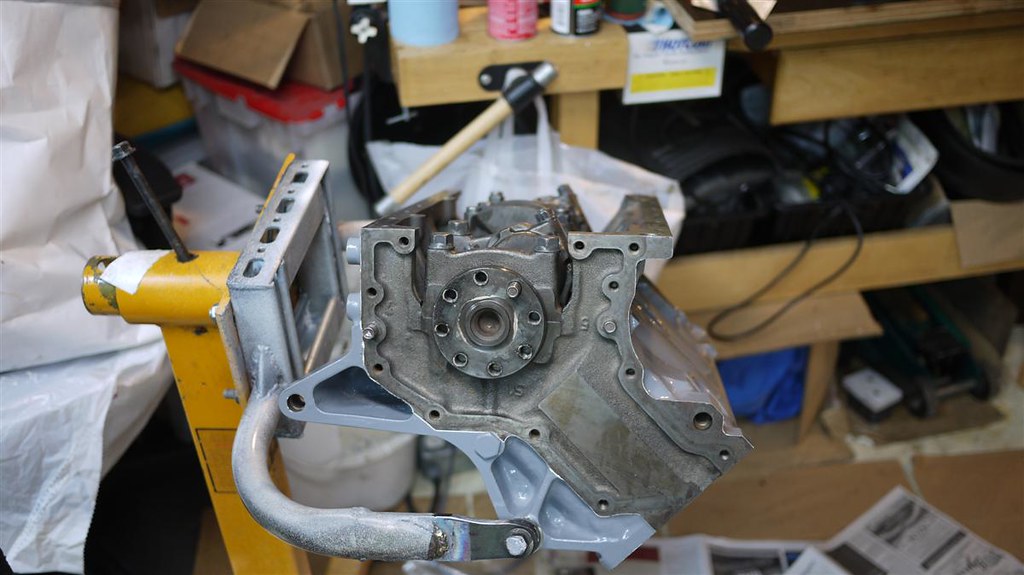
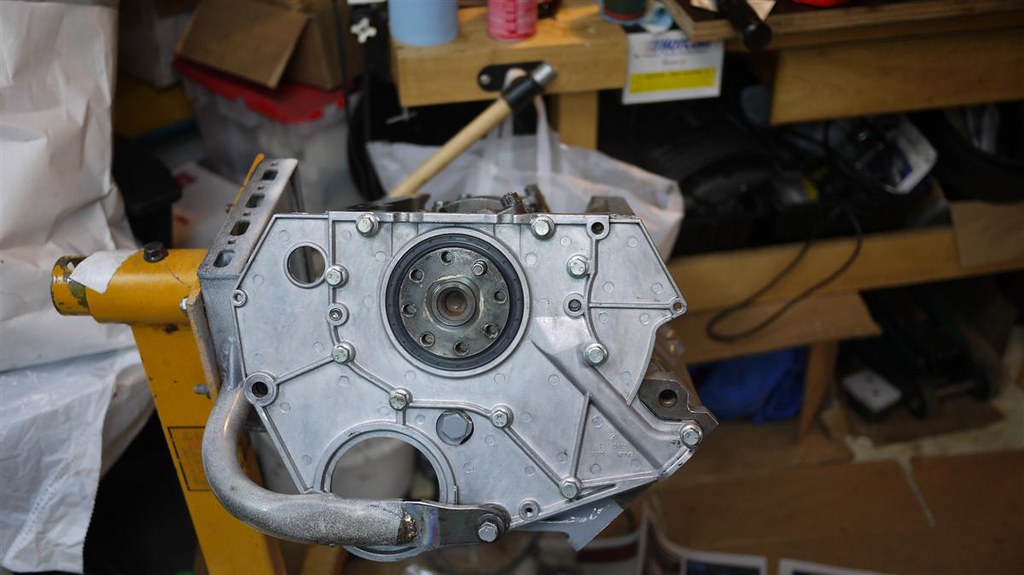
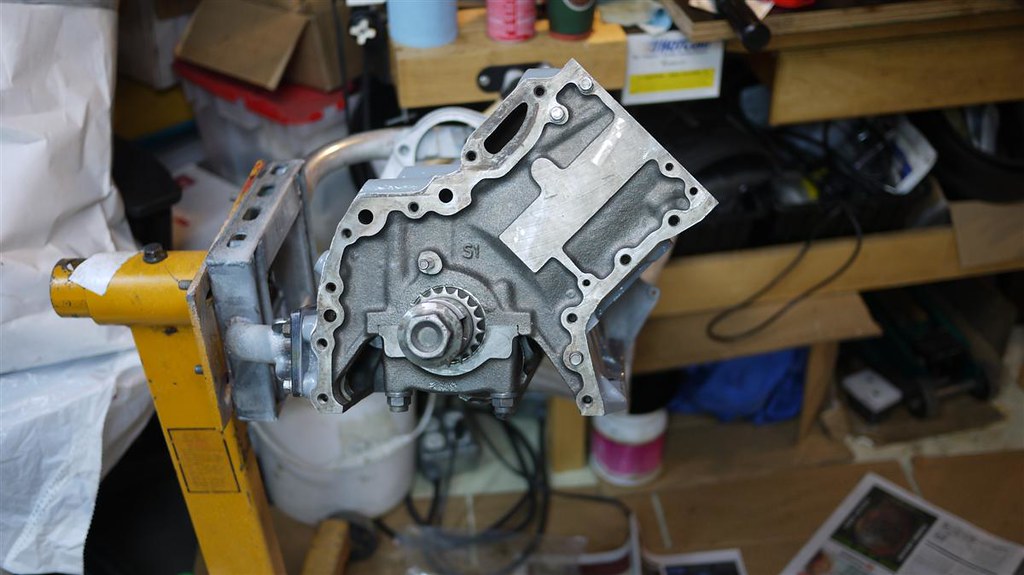
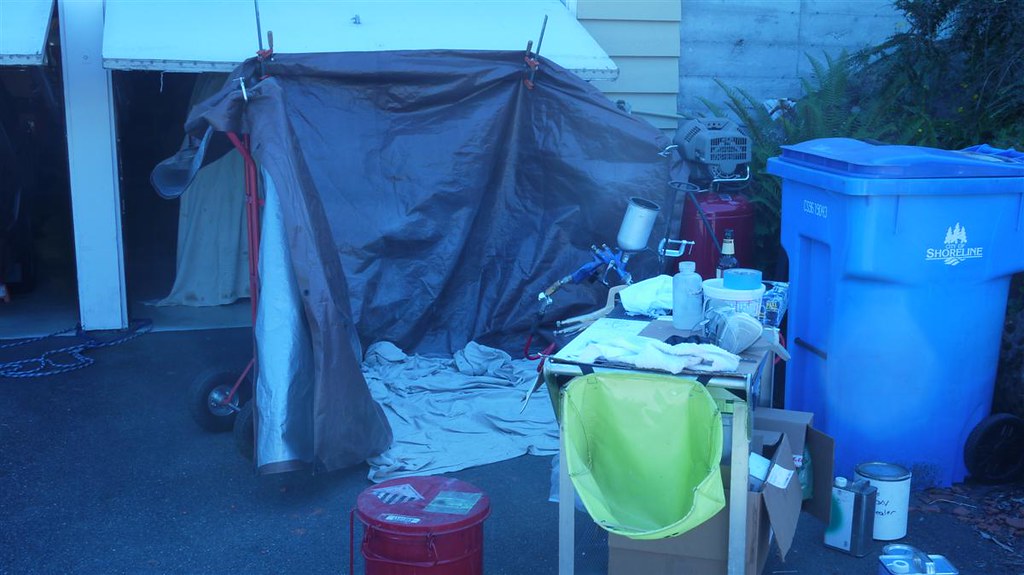
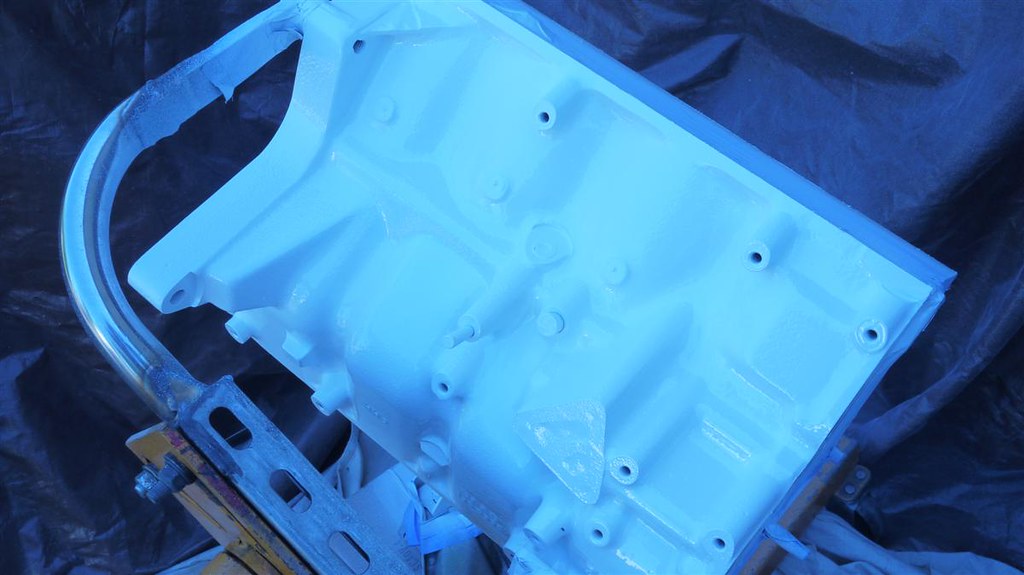
Prepped the block and painted with a two part epoxy sealer primer and a enamel topcoat.
My ghetto paint booth.
Epoxy in white.
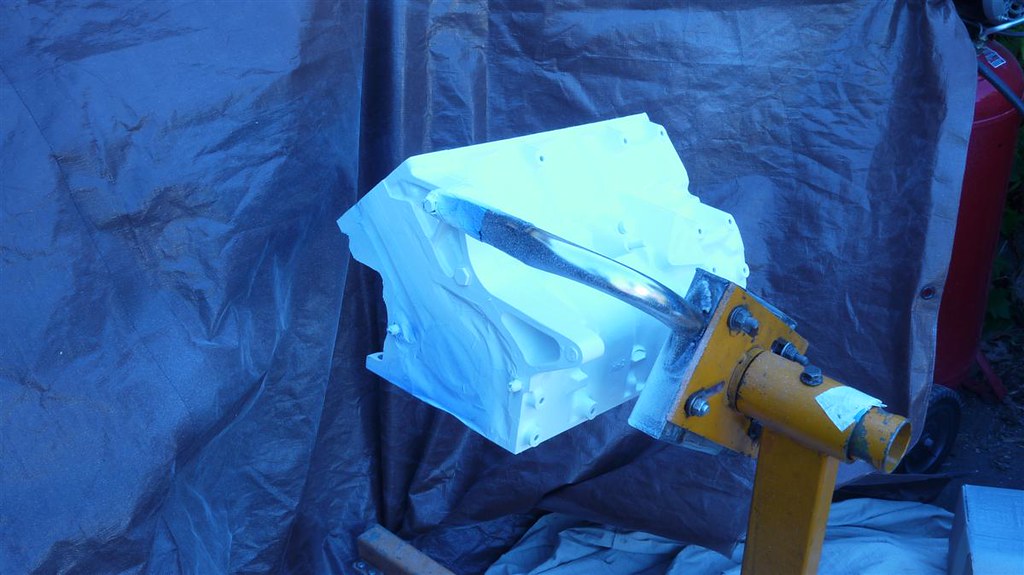
Gray topcoat.
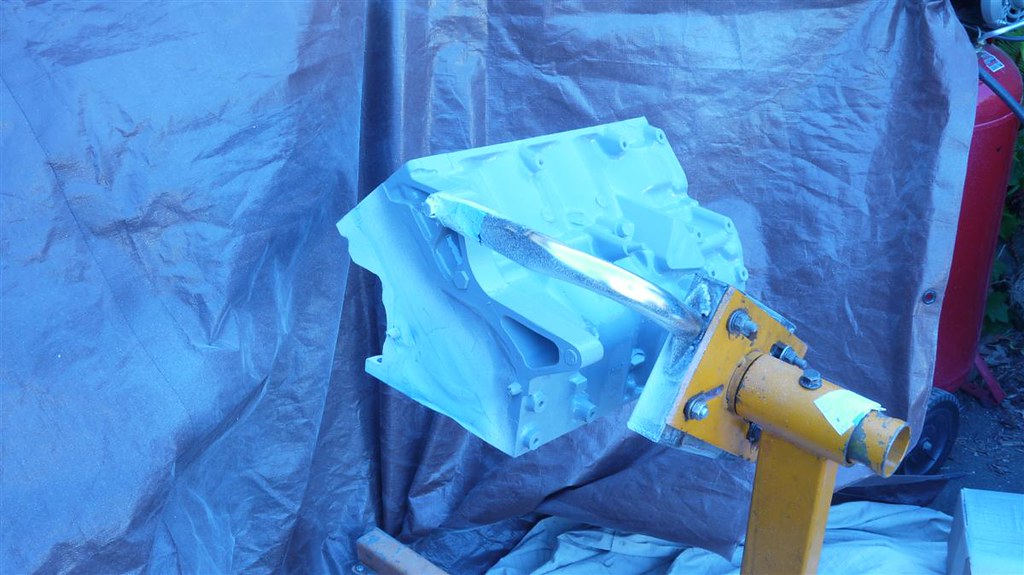
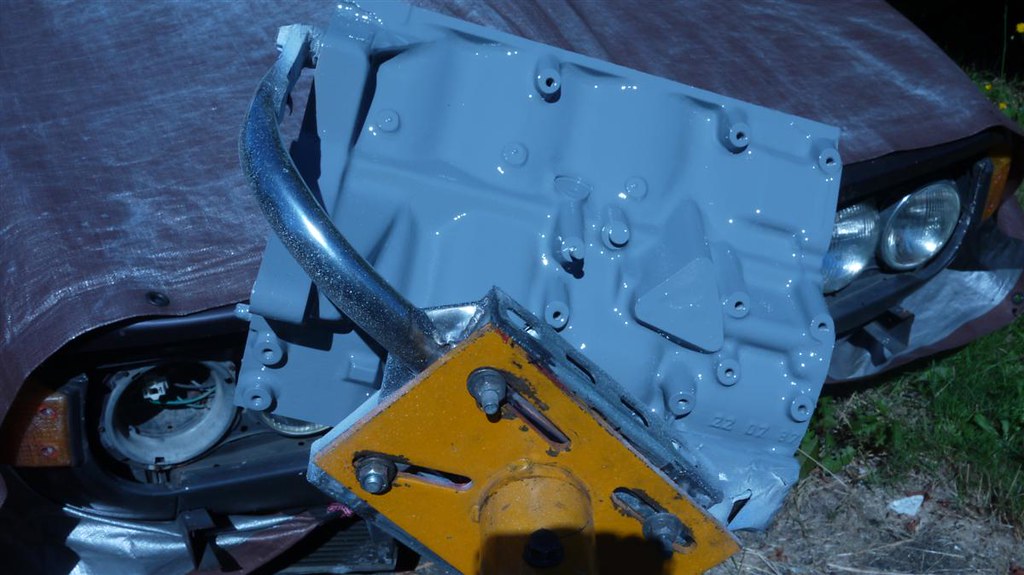
Remove the masking before the paint fully dries for nice clean lines.

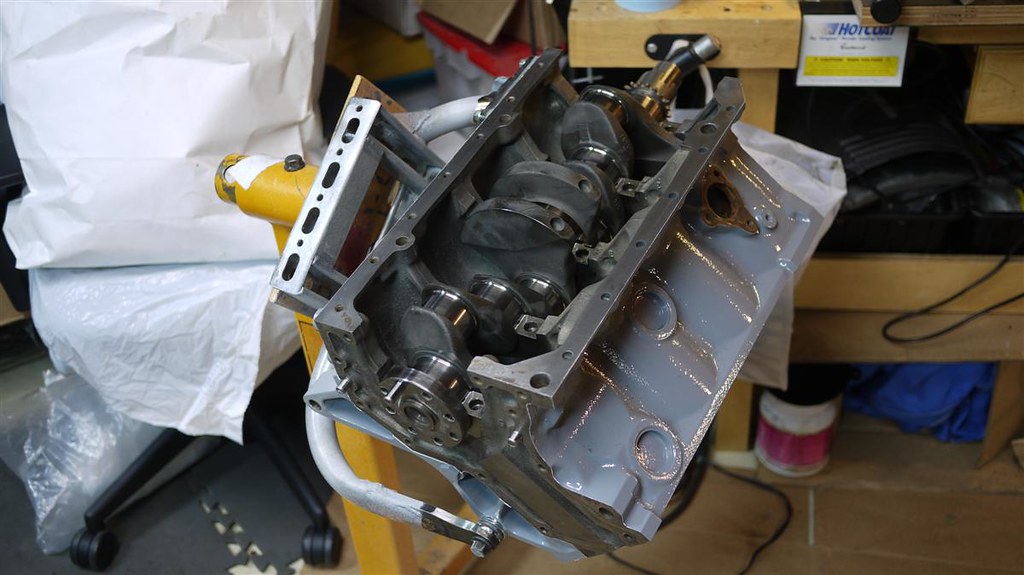
Once it is dry, time to start putting the parts back...
Re: 16 Valve B202 engine rebuild 2011
Posted: Thu Sep 08, 2011 11:24 pm
by squaab99t
Re: 16 Valve B202 engine rebuild 2011
Posted: Fri Sep 09, 2011 11:55 am
by 99Super
Dennis,
So which pistons did you end up using?
That dish looks a lot like the stock 8V APC pistons (8.5cr) I used in my project.
john
Re: 16 Valve B202 engine rebuild 2011
Posted: Fri Sep 09, 2011 9:22 pm
by squaab99t
99Super wrote:Dennis,
So which pistons did you end up using?
That dish looks a lot like the stock 8V APC pistons (8.5cr) I used in my project.
john
I end up using stock 16v turbo pistons that are one oversize. No change in C/R.
Re: 16 Valve B202 engine rebuild 2011
Posted: Sun Sep 11, 2011 11:41 am
by squaab99t
Re: 16 Valve B202 engine rebuild 2011
Posted: Mon Sep 12, 2011 10:36 am
by DrewP
MMmmm.... full sequential....
Did you make the pulley and CPS mount, or buy them?
Re: 16 Valve B202 engine rebuild 2011
Posted: Mon Sep 12, 2011 10:27 pm
by squaab99t
DrewP wrote:MMmmm.... full sequential....
Did you make the pulley and CPS mount, or buy them?
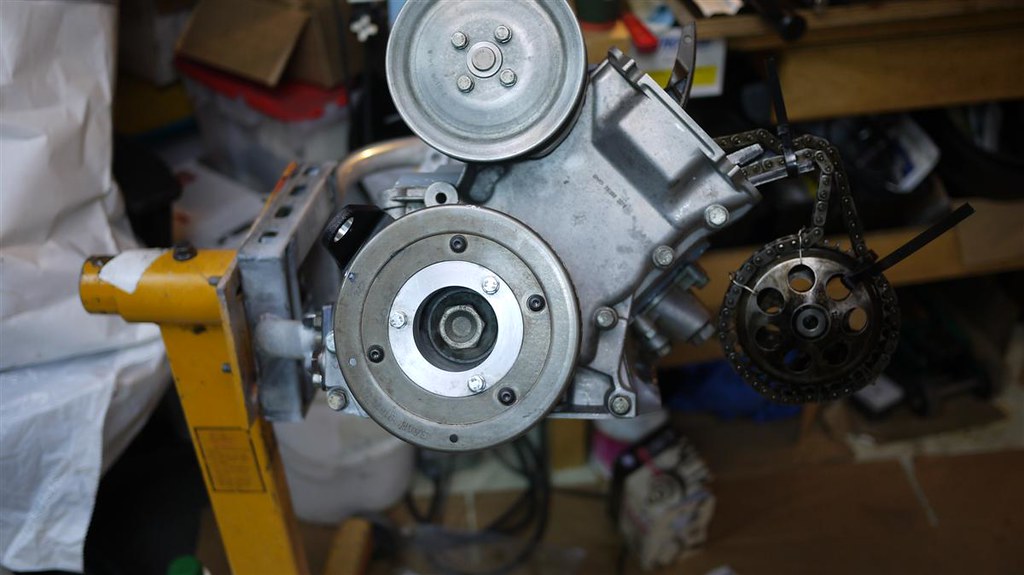
The CPS is only part of the equation to go full sequential. I still use the hall sensor of the dist to tell the ECU if I'm on the compression or exhaust stroke.
My design and prototyping. I machined the parts via emachine. I created bolt on kits with instructions and all the fasteners to make it plug and play. All told I made 25 kits and they are gone. Might be time for another run?
 http://www.saabphotos.com/gallery/album1028?page=1
Re: 16 Valve B202 engine rebuild 2011
Posted: Tue Sep 13, 2011 2:03 am
by squaab99t
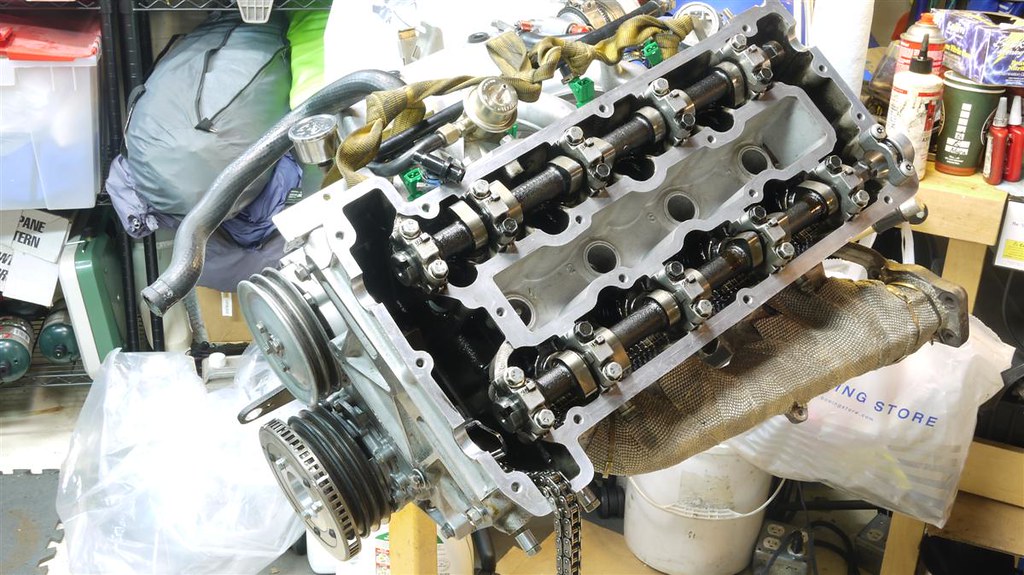
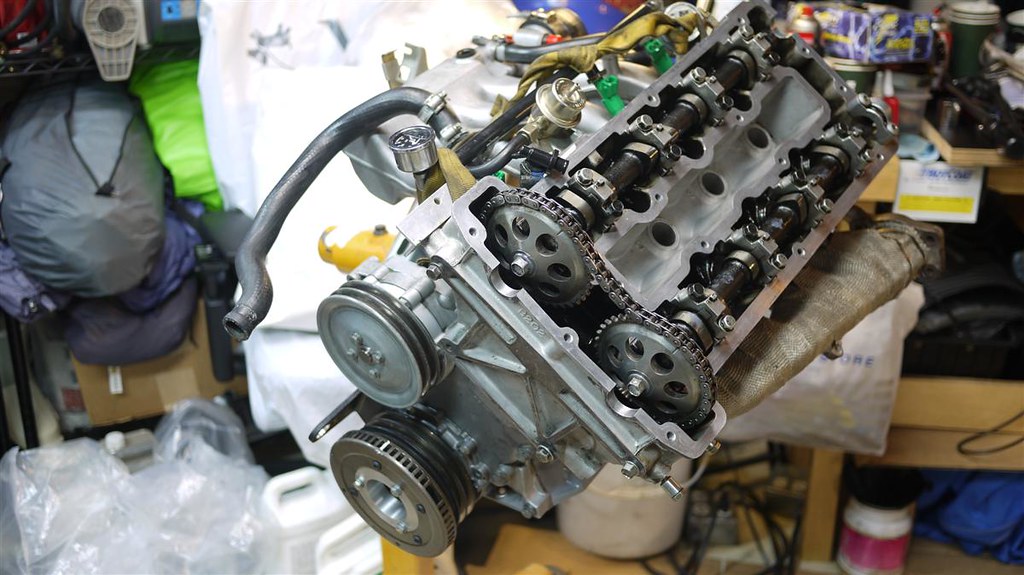
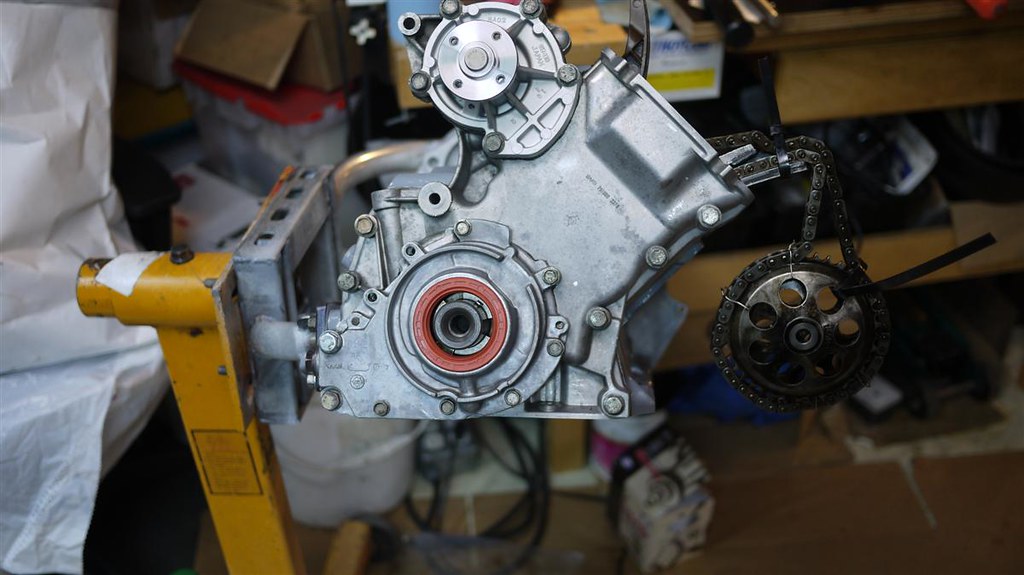
Since I am using a 9000 flywheel the TDC markings do not line up. Used a dial indicator and a scribe to find true TDC.
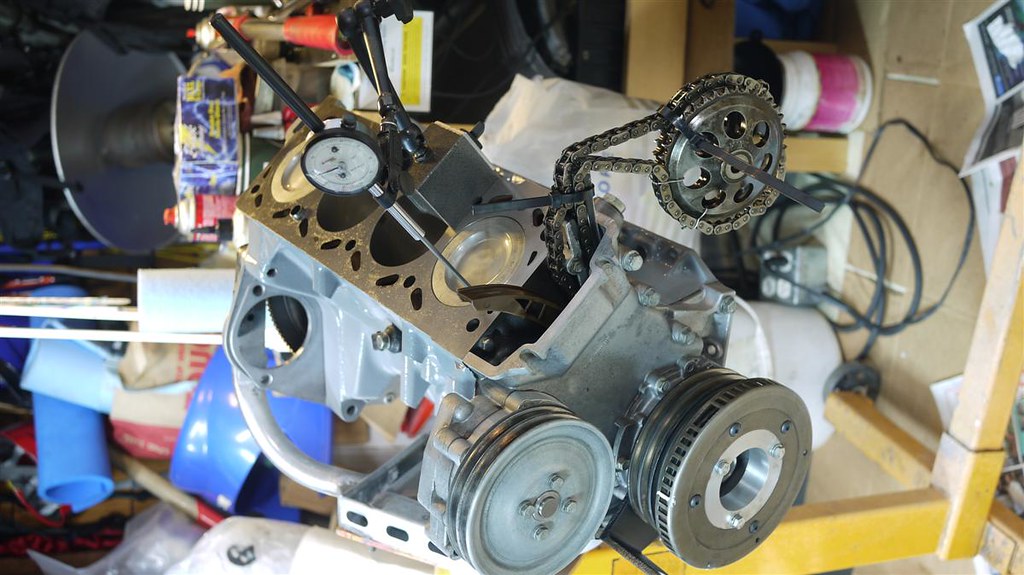
Head and timing chain installed